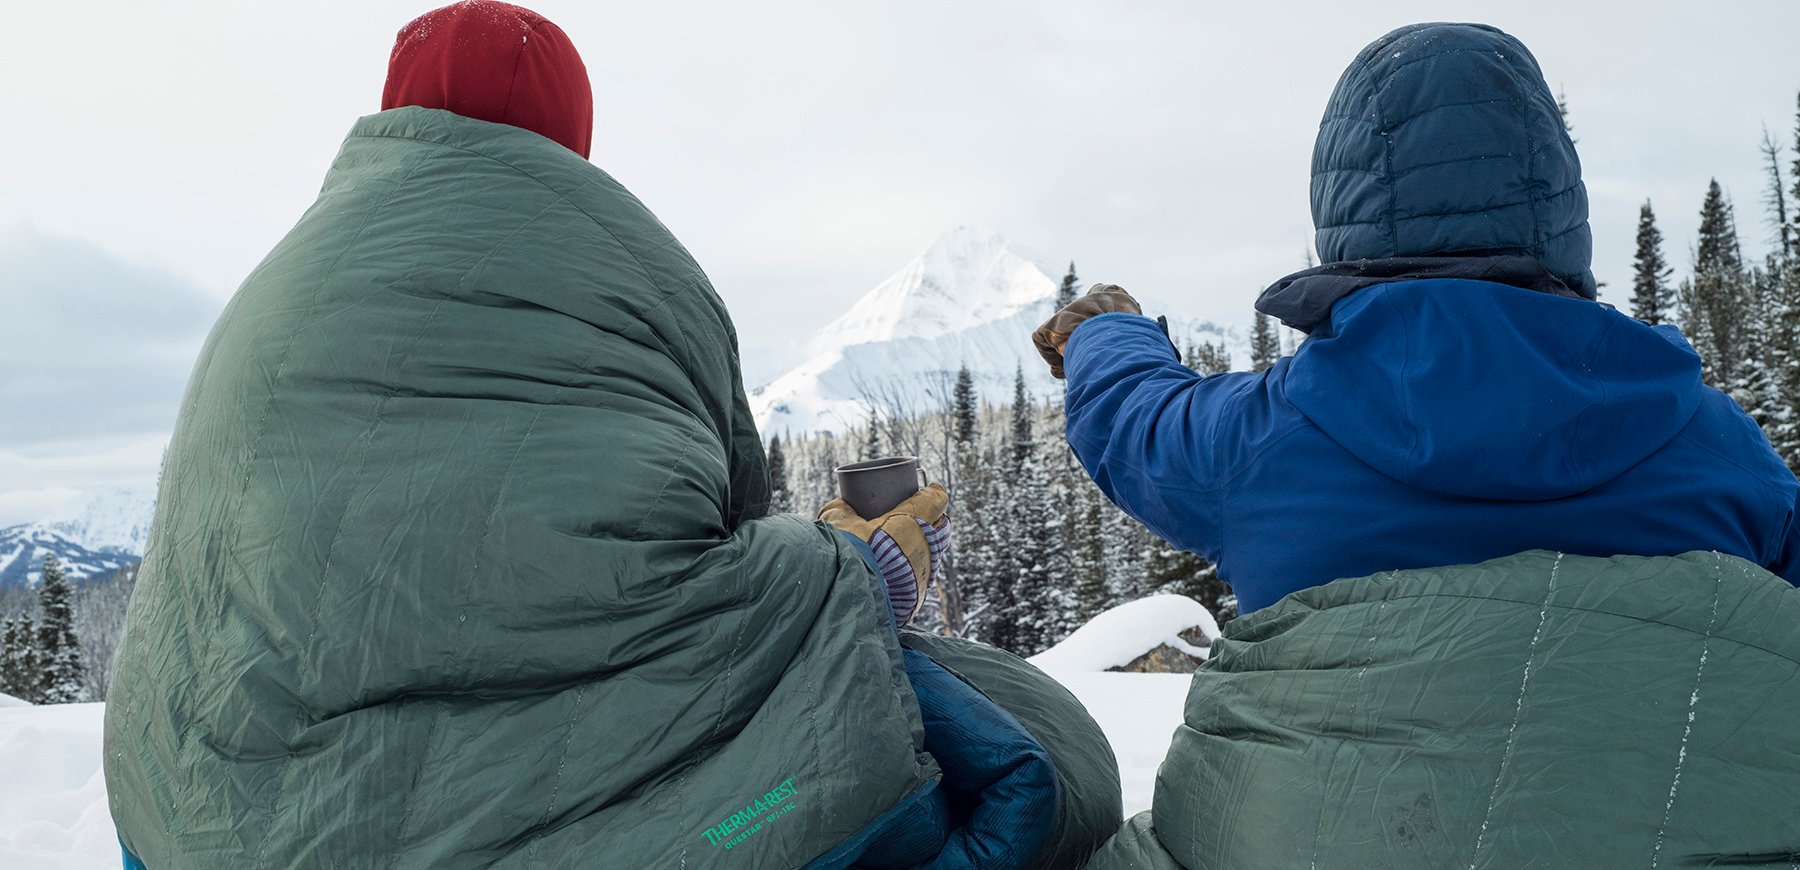
Getting out to do the activities you love might not be possible right now, but that’s no reason to take this time off from working those hiking muscles. Keeping your eye on the prize and maintaining a training regime might just be one of the best ways to stay inspired for all those adventures to come. I found my love for off-season training while preparing for my Pacific Crest Trail thru hike, Mount Rainier summit, and five weeks on the Camino de Santiago. Who knows, cross training could become your favorite way to prepare for when backpacking season kicks off again!
4 Tips for Off-Season Training
1. An Endless Climb
The golden rule of hiking is to have fun, but the golden rule of hiking fitness is to have thighs, calves, and a core of steel. There is no better way to build up these three systems than by weighting up your pack and hitting the stairs—at work, on the stair climber at the gym, or on those stairs at the local stadium.
Not convinced? A study in 2005 found walking 200 steps twice a day, five times a week, for eight weeks bumped VO2 max up by 17 percent. That’s serious improvement—and that doesn’t even take into account the muscle gains.
I’ve used stairs to pump up my fitness before each of my treks. I like carrying 30 to 40 pounds in my backpacking pack and playing on the stairs for 30 minutes a few times a week. When I got to the Pacific Crest Trail, after a month of stair training, I began to think I had trained too much! The nicely graded hills felt easy, and my pack felt light.
Amp up your climb: The circuit: 1. Walk stairs two at a time; 2. Sprint up and down; 3. Climb with high knees; 4. Jump with both feet wider than your hips. Do each exercise on the stairs for 15 seconds and then rest for a minute. Repeat the circuit for fifteen minutes.
2. Get Speedy
Cyclists lower the resistance and up the speed to learn to pedal faster. Sprinters drill themselves for quicker leg turnover. Hikers can use the same tricks to hike faster. It’s called neuromuscular adaptation—training your brain to send messages faster, so your legs move faster. Short, faster steps are physiologically easier on the body. Plus, the faster you hike, the quicker you get from point A to point B, and the less food and water you need to carry. Hiking faster makes treks–both long and short– easier on your body.
I’ve worked on my stride immensely over my months in the backcountry. The aches and pains started when I tried expanding my stride to try and gain speed the wrong way. I finished my 2015 thru-hike, despite painful shin splints, by drastically changing my stride—making it short and quick.
Speed up your stride: Hop on your left foot while raising your right leg and left arm to 90-degree angles, like you’re running. Bring your right leg down and hop on it, raising your left leg and right arm up. Go as fast as you can, keeping impeccable form. You should get faster the more you train.
3. Core Strength
You won’t get far without a strong core. Picking up heavy packs, climbing steep inclines, clambering over dicey rocks in river crossings, and simply walking with a pack all require core strength. Your core helps with balance, carrying heavy loads, and stability over uneven or slippery terrain. In other words, your core is essential for backpacking.
I started training to summit Mount Rainier with no core. Through the below exercises and plenty of bouldering, I found my center. It alleviated the back pain I was experiencing from carrying a 50-pound pack, and helped me stay upright, even when maneuvering on sketchy rock in crampons.
The strength regimen: Begin with side planks: Place your elbow under your shoulder and your forearm perpendicular to your body. Stack your top foot on your bottom foot. Raise your hips, creating a straight line from head to foot.
The final countdown: End with pushups with row: Begin in a pushup position with hands on dumbbells and feet wide. Lower your body and as you push up, row one elbow back, bringing the dumbbell to your ribcage.
4. Stretch it Out
Research shows that using a foam roller before runs helps the workout feel easier, gets muscles ready to go, and mentally prepares runners to do their best. Foam rollers after workouts make recovery easier on your muscles by increasing the blood flow. Take the tip—rollers are incredible to use before and after your training. Just remember, hydrate and roll out daily (rolling is like flossing – you have to do it every single day for maximum benefits).
I was introduced to foam rolling by my parents, both personal trainers, as a child. I’ve been using them to deal with tight hips and shin splints since I began endurance hiking and cycling. They can be horrifically painful torture devices, but the benefits far outweigh the momentary sadness.
Calf care: Begin with your calves: place the roller flat on the floor under your calf, resting the other foot on the floor. Roll from ankle to knee. Change sides and repeat.
IT soother: To roll out your IT band, lay on your side with the roller under your hip. Rest the other foot on the floor in front of your first leg. Roll along outer thigh.
Related Posts:
Updated. Originally Published January 26, 2017.